728x90
반응형
마리오 게임의 버그를 찾고, 해당 부분을 더 공부하기 위해 새로운 게임 프로젝트를 만들어 공부하는게 이번 포스팅 주제의 목표이다.
https://www.youtube.com/watch?v=v_Y5FH_tCpc&list=PLO-mt5Iu5TeYI4dbYwWP8JqZMC9iuUIW2&index=16
위의 영상 게임 프로젝트를 만들어보고 이를 응용하여 다시 마리오를 만들어보자.
새로운 유니티 프로젝트 생성
2D Game이라는 새로운 프로젝트를 생성한다.
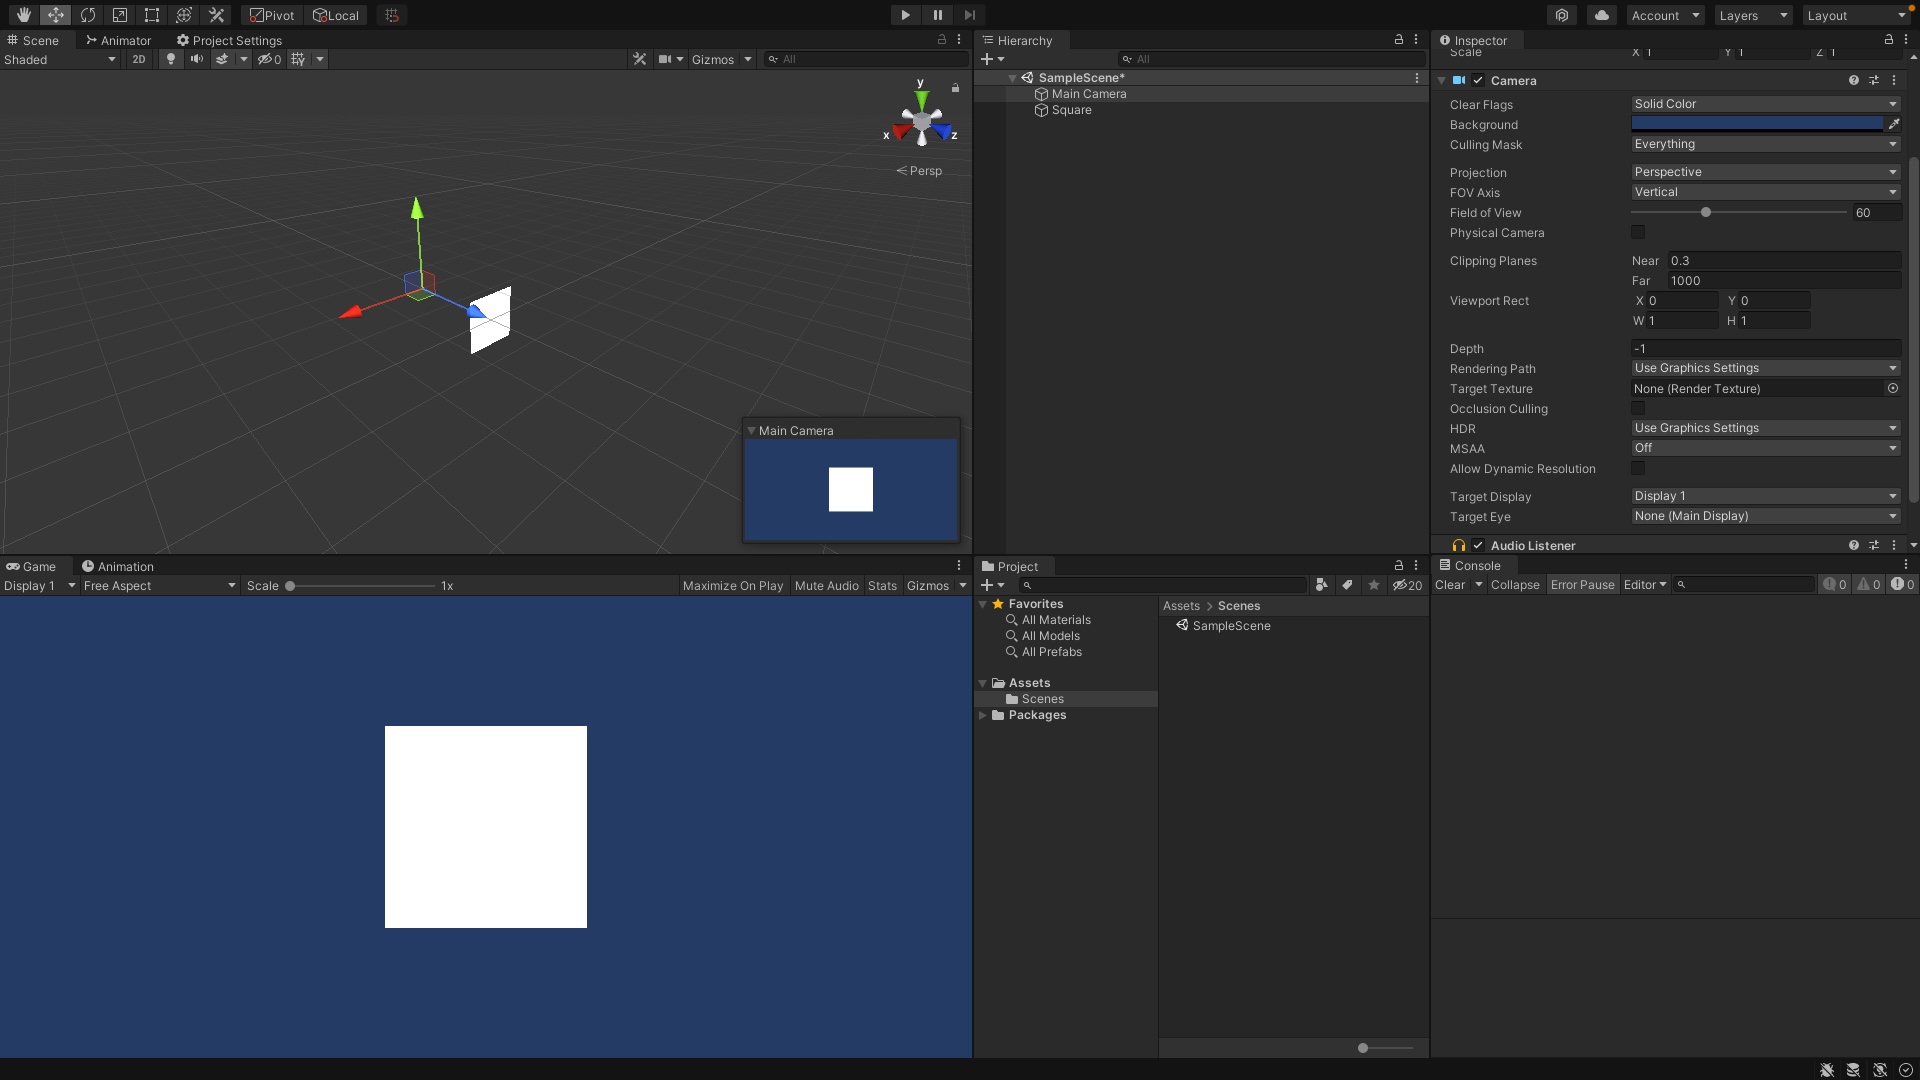
2D 원근법 사용
메인카메라 클릭 > 인스펙터 창의 Projection을 Perspective로 변경한다.
Simple 2D Platformer Assets Pack | 2D 캐릭터 | Unity Asset Store
Elevate your workflow with the Simple 2D Platformer Assets Pack asset from Goldmetal. Find this & more 캐릭터 on the Unity Asset Store.
assetstore.unity.com
다음 유니티 사이트에 들어가 에셋 파일을 다운 받는다.

 |
 |
| 플레이어의 위치 | 플렛폼의 위치 |
스프라이트 간 공백 줄이기
스프라이트 업로드

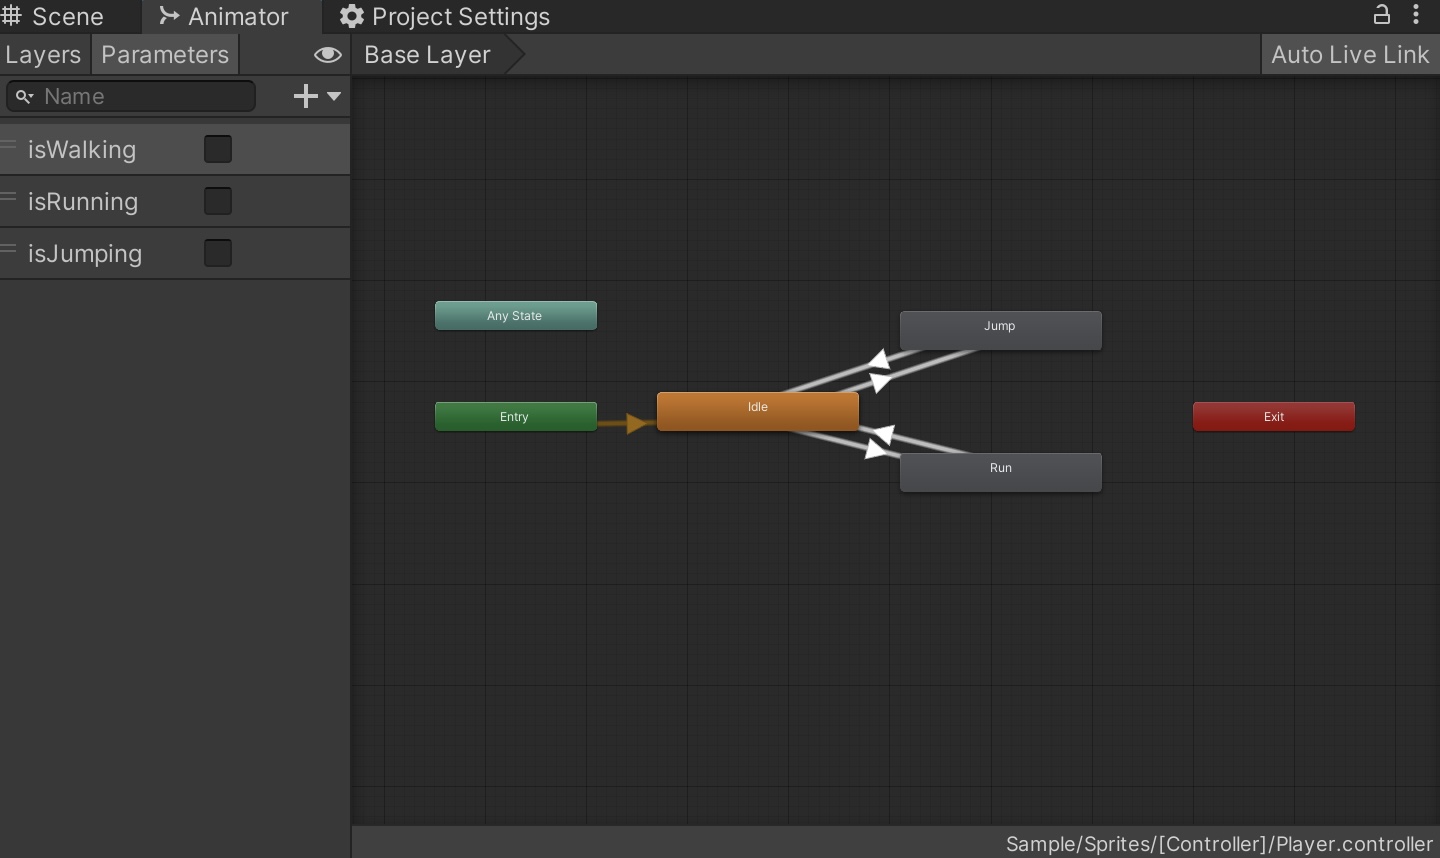
스프라이트 애니메이션 제작
소스 코드
using System.Collections;
using System.Collections.Generic;
using UnityEngine;

public class PlayerMove : MonoBehaviour
{
    public float maxSpeed; //최대 속력 변수
    public float jumpPower;
    Rigidbody2D rigid; //물리이동을 위한 변수 선언
    SpriteRenderer spriteRenderer; //방향전환을 위한 변수
    Animator animator; //애니메이터 조작을 위한 변수

    private void Awake() {

        rigid = GetComponent<Rigidbody2D>(); //변수 초기화
        spriteRenderer = GetComponent<SpriteRenderer>(); // 초기화
        animator = GetComponent<Animator>();
    }


    void Update(){

        // 버튼에서 손을 떄는 등의 단발적인 키보드 입력은 FixedUpdate보다 Update에 쓰는게 키보드 입력이 누락될 확률이 낮아짐


        //Jump
        if(Input.GetButtonDown("Jump") && !animator.GetBool("isJumping")){
            rigid.AddForce(Vector2.up* jumpPower , ForceMode2D.Impulse);
            animator.SetBool("isJumping",true);
        }

        //Stop speed
        if(Input.GetButtonUp("Horizontal")){ // 버튼에서 손을 때는 경우
            // normalized : 벡터 크기를 1로 만든 상태 (단위벡터 : 크기가 1인 벡터)
            // 벡터는 방향과 크기를 동시에 가지는데 크기(- : 왼 , + : 오)를 구별하기 위하여 단위벡터(1,-1)로 방향을 알수 있도록 단위벡터를 곱함
            rigid.velocity = new Vector2( 0.5f * rigid.velocity.normalized.x , rigid.velocity.y);
        }

        //Direction Sprite
        if(Input.GetButtonDown("Horizontal"))
            spriteRenderer.flipX = Input.GetAxisRaw("Horizontal") == -1;


        //Animation
        if( Mathf.Abs(rigid.velocity.x) < 0.2) //속도가 0 == 멈춤
            animator.SetBool("isWalking",false); //isWalking 변수 : false
        else// 이동중
            animator.SetBool("isWalking",true);
    }

    // Update is called once per frame
    void FixedUpdate()
    {
        float h = Input.GetAxisRaw("Horizontal");
        rigid.AddForce(Vector2.right * h, ForceMode2D.Impulse);

        if(rigid.velocity.x > maxSpeed)  //오른쪽으로 이동 (+) , 최대 속력을 넘으면
            rigid.velocity= new Vector2(maxSpeed, rigid.velocity.y); //해당 오브젝트의 속력은 maxSpeed

        else if(rigid.velocity.x < maxSpeed*(-1)) // 왼쪽으로 이동 (-)
            rigid.velocity =  new Vector2(maxSpeed*(-1), rigid.velocity.y); //y값은 점프의 영향이므로 0으로 제한을 두면 안됨


        //Landing Paltform
        Debug.DrawRay(rigid.position, Vector3.down, new Color(0,1,0)); //빔을 쏨(디버그는 게임상에서보이지 않음 ) 시작위치, 어디로 쏠지, 빔의 색

        RaycastHit2D rayHit = Physics2D.Raycast(rigid.position, Vector3.down, 1, LayerMask.GetMask("Platform"));
        //빔의 시작위치, 빔의 방향 , 1:distance , ( 빔에 맞은 오브젝트를 특정 레이어로 한정 지어야할 때 사용 ) // RaycastHit2D : Ray에 닿은 오브젝트 클래스

        //rayHit는 여러개 맞더라도 처음 맞은 오브젝트의 정보만을 저장(?)
        if(rigid.velocity.y < 0){ // 뛰어올랐다가 아래로 떨어질 때만 빔을 쏨
            Debug.Log("Drop!");
            if(rayHit.collider != null){ //빔을 맞은 오브젝트가 있을때  -> 맞지않으면 collider도 생성되지않음
                Debug.Log("Down!");
                if(rayHit.distance < 0.5f)
                    animator.SetBool("isJumping",false); //거리가 0.5보다 작아지면 변경

            }
        }
    }
}
레이어 설정
위 소스 코드에서 레이어는 인스펙터 창의 레이어임에 주의한다!

728x90
반응형
'Development > [Game] Basic Game' 카테고리의 다른 글
| [Game] #7. 게임 UI 생성 및 완성 (0) | 2022.03.29 |
|---|---|
| [Game] #5. 게임 메니저 (0) | 2022.03.29 |
| [Game] #4. 충돌 및 사냥 구현 (0) | 2022.03.28 |
| [Game] #3. AI 구현 (0) | 2022.03.20 |
| [Game] #2. 게임 UI 및 팔레트 (0) | 2022.03.20 |


